GUIDE TO ADDING YOUR WORDPRESS PLUGIN TO WORDPRESS.ORG
December 1, 2015 / by Marco / Categories : Business, Wordpress
Last week I was involved with creating a WordPress Plugin and had the responsibility to uploading the plugin to WordPress.org. It was my first time doing this and was a bit overwhelmed with the whole experience. I did manage to get it published and so I decided to write about this experience so that I could remember all the steps and what to watch out for next time I upload another plugin.
I’m not a developer, so I cannot really guide you with all the coding and technical aspects of your WordPress plugin but all I can say is if you intend to upload your plugin to WordPress.org then use a developer that has the experience and knowledge of developing plugins to meet their strict guidelines. The WordPress.org review team manually looks at the code and will provide you with the necessary guidance to get it approved. Basically, if the code is not up to their standard then it won’t be approved hence the reason why its best to use a developer that can code to their standards. As an example: Names of functions
# Generic function (and/or define) names
All plugins should have unique function names, defines, and classnames. This will prevent your plugin from conflicting with other plugins or themes.
For example, if your plugin is called “Easy Custom Post Types”, then you might prefix your functions with ecpt_{your function name here}. Similarly a define of LICENSE would be better done as ECPT_LICENSE. You can use namespaces instead, however make sure that those also are unique. A namespace or class of ‘MyPlugin’ is NOT actually all that unique, you see.
There are plenty of resources out there (like this one) for developing WordPress plugins but it seems a lot of developers don’t have the time to read all this. It just makes everything so much easier if the coding standards were used from the start.
SUBMITTING YOUR PLUGIN FOR APPROVAL
Once you’ve built your WordPress Plugin and are ready to upload this to WordPress.org you will need to complete a form found here (you need to register for a username and password):
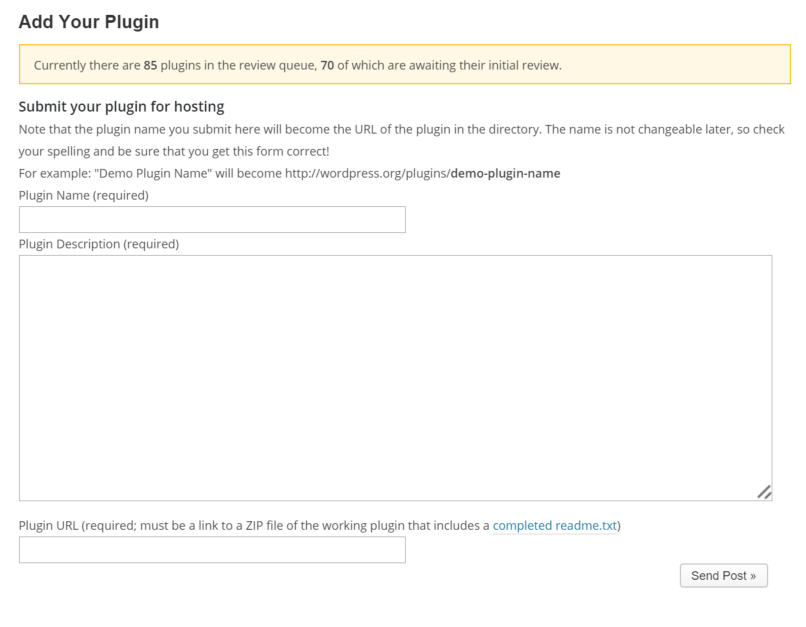
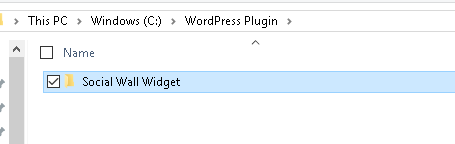
The name of the plugin is VERY important as this cannot be changed later on. For example, the plugin that I worked on as called Social Wall Widget. If I decided to change this name later on to Social Wall, this would not be possible as the URL will always be https://wordpress.org/plugins/social-wall-widget
The only solution would be to resubmit another plugin with that name. So carefully think about this plugin name!
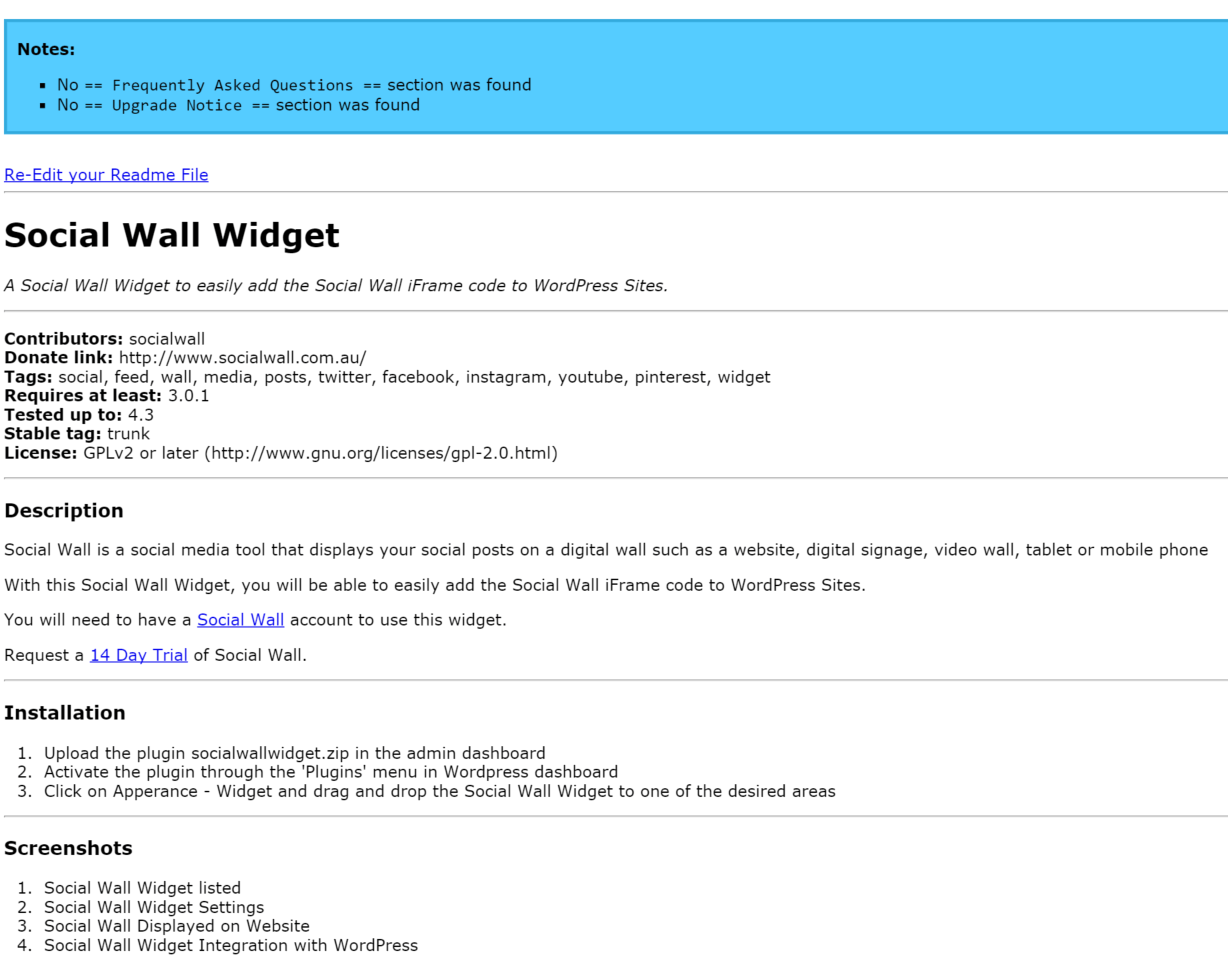
One thing you need to make sure is to have a completed readme.txt file in your ZIP file. There is a readme.txt validator that checks the contents of the text file. Here’s an example of the results from the validator:
As you can see from the submission form screenshot, there is approximately 85 plugins being review queue, so you will need to be patient. The WordPress review teams are not robots so it does take time to review each plugin.
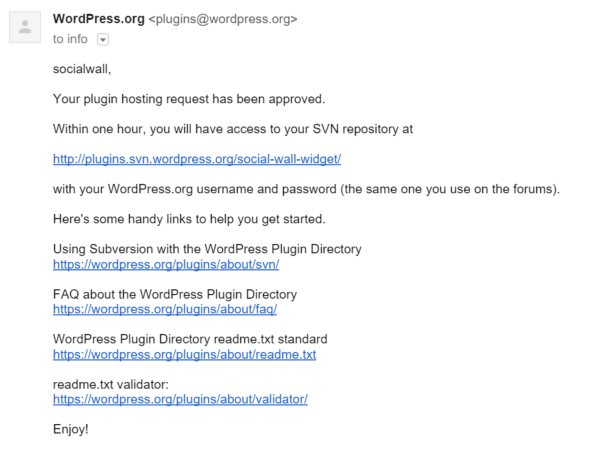
For Social Wall Widget plugin it took about 1 day before it was approved and had access to the SVN repository. You will receive an email similar to this:
SVN stands for Apache Subversion and it’s a software versioning and revision control system that WordPress uses. This was also the first time working with SVN and will go through the procures in using SVN later on.
UPLOADING YOUR PLUGIN
So you’ve had your WordPress Plugin approved… that’s not the end of it. The next step is to upload the plugin to the WordPress.org hosting platform that uses SVN. As mentioned previously I’ve never used SVN and had to do a bit of researching for the best way to use this. WordPress does provide you with instructions on how to use SVN. However, these instructions are only applicable if you have a Unix operating system. I did have a Unix VPS (Virtual Private Server) but didn’t have SVN installed so I ditched the idea of using this VPS.
USING TORTOISE SVN
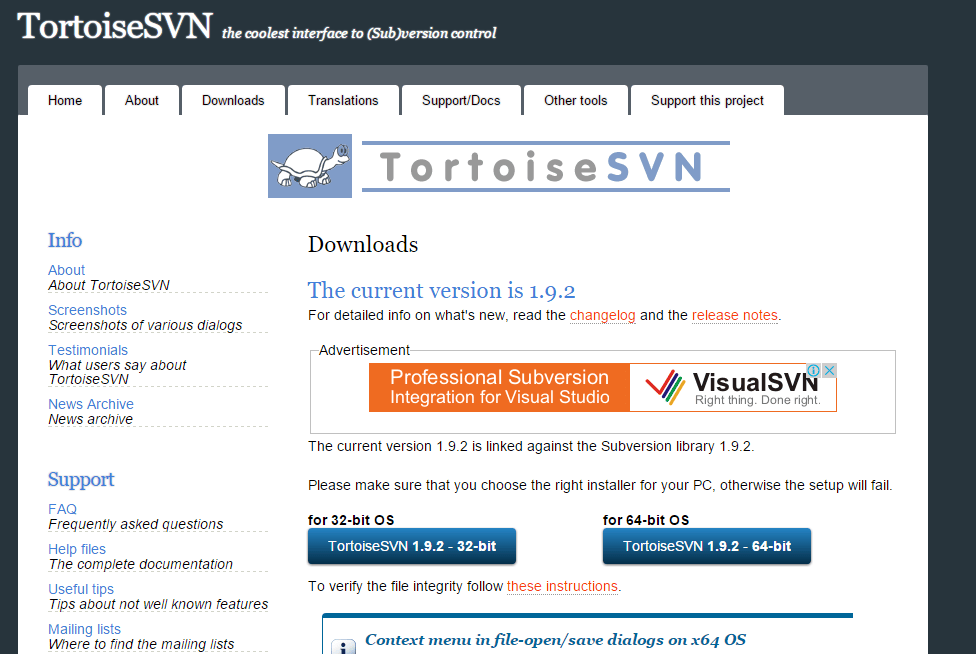
Instead of using the Unix VPS I ended up just using my Windows laptop and a tool called Tortoise SVN – I wanted to avoid installing SVN tools and upload the files to the Unix VPS. Tortoise SVN is and open source tool (Yes it’s FREE) and was created especially for the Windows OS. Just download and follow the default settings to install the software.
After successfully installing Tortoise SVN, you will need to create a folder on your local computer to store all the plugin files. This folder will be used as a local repository that will be synched with the WordPress.org plugin repository.
Right Click on the Directory name and you will see the TortoiseSVN. Just above it you will see SVN Checkout. Click on that.
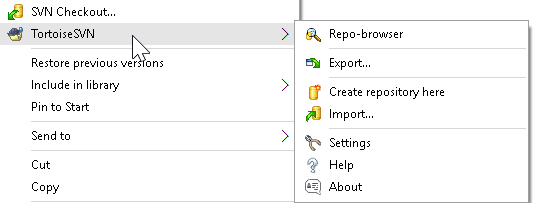
The Repository will be created. Click on OK to create the default folder structure.Make sure in the URL repository you type the URL supplied by WordPress in the approval email.

The program will now create 4 folders (assets, branches, tags, trunk) like below:
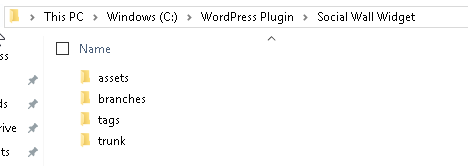
The purpose of each folder is as follows:
- assets – all the images, screenshots, banner, icons will be saved here
- branches – this where you want to keep latest release of major versions of the plugin. For example version if the latest version is 3.7.2 then you store this in version branch/3.7/ the reason for this is that you may have released multiple major versions of the software and for update each major version accordingly
- tags – this is any version that has been released to the public.
All you have to do is copy all your files into these directories. When you’re ready to upload the files all you need to do is click on the files you want to upload, then right click and select SVN Update:
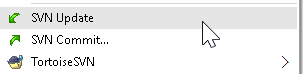

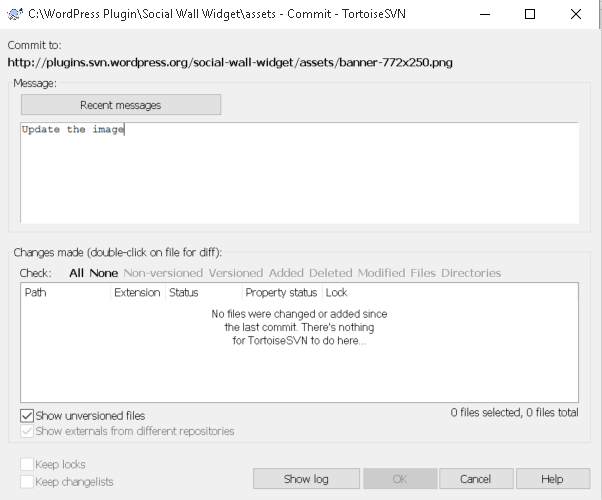
Then right click the file again and select SVN Commit. You need to make sure you add a message and press OK. You can upload multiple files as well.
NOTE: During this process you will be prompted to also enter your WordPress Developer login details so make sure you have these handy as well.
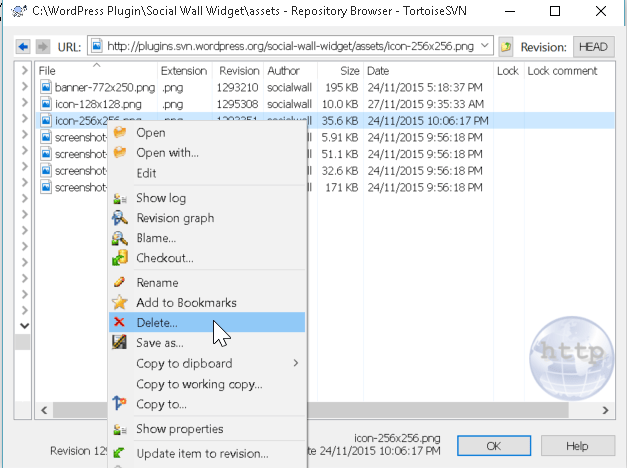
DELETE
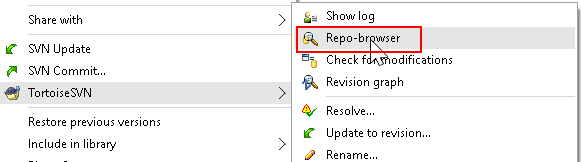
If you made a mistake like I did (uploading the wrong file name) then the best way to delete the file once uploaded is to use the Repo-Browser.
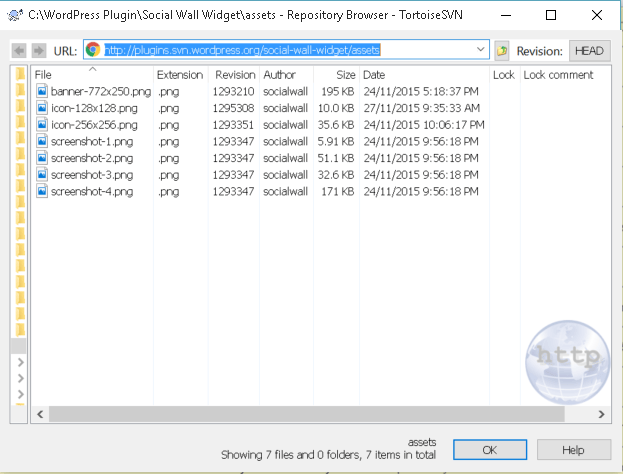
It will display all the files in the folder repository
Right click the file that you want to delete and then click on Delete
WORDPRESS REPOSITORY ASSETS FOLDER
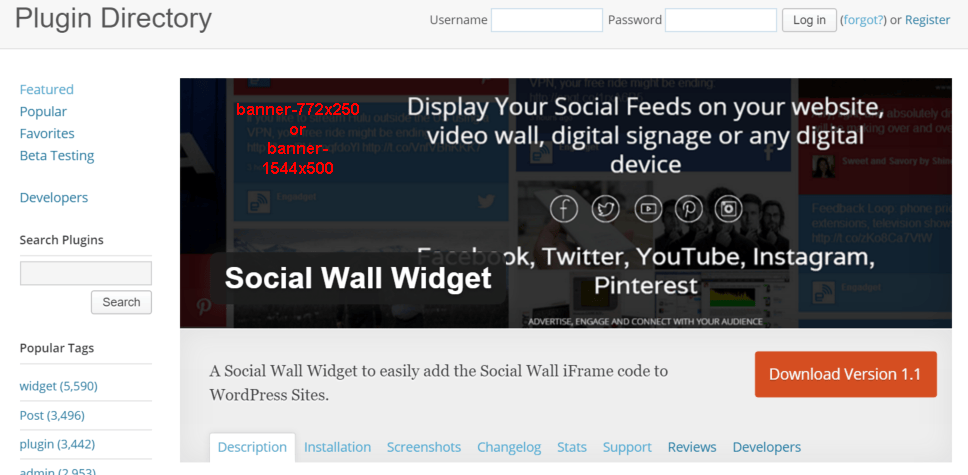
BANNER
WordPress automatically check the assets folder and will display the banner and icons if they exist, however they need to be in specific dimension (772×250 or 1544×500 for retina). The filenames must be exaply banner-772×250.jpg or banner-772×250.png. Unfortunately animages gifs do not work.
ICONS
Like the banner, WordPress will also automatically detect whether an icon image is available and will display this icon in the Plugin search function of your WordPress site. The sizes are icon-128×128 or icon-256×256 (retina).
![]()
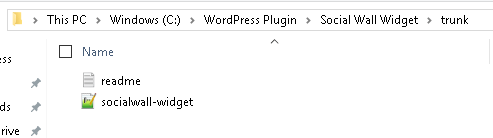
PLUGIN AND README FILES
The plugin and readme file will need to saved to the trunk folder.
The readme text file is an important file. It containts all the information that will be displayed on the WordPress plugin directory.
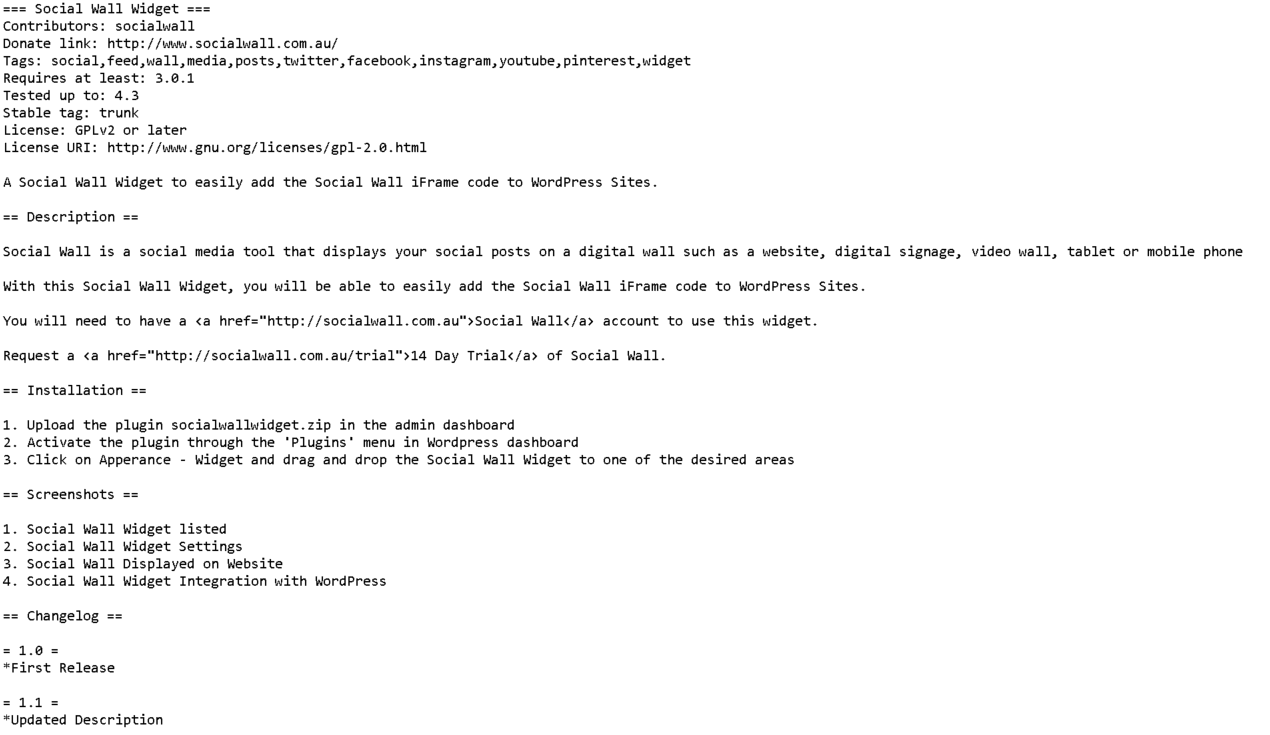
A few things to watch out for:
- Stable tag- make sure you put in trunk if you don’t decide to use tags.
- Screenshots – you don’t need to specify the screenshots. WordPress will automatically scan the assets folder and add match the screenshot captions to the images based on the number. As long as you have the naming correct filename e.g screenshot-1.jpg. I initally had the filename Screenshot-1 and it didn’t display because I used the uppercase s. It needs to be lowercase.
- Contributors – this is the username that you used when you registered for WordPress developer account
WordPress does have a readme template file that you can use as a guideline.
List of resources related to this article:
https://developer.wordpress.org/plugins/wordpress-org/plugin-assets/
WordPress Using Subversion – https://codex.wordpress.org/Using_Subversion
https://wordpress.org/plugins/social-wall-widget
https://developer.wordpress.org/plugins/
https://developer.wordpress.org/plugins/wordpress-org/plugin-assets/
How to Use Subversion: https://wordpress.org/plugins/about/svn/

Marco / admin / 30 Nov
Writing day to day ramblings about making money, business, technology, sharing awesome deals and everything else that I know I'll forget. Follow my personal blog https://marcotran.com.au
I've recently also turned Vegan and started this website Veggie Meals - check it out
"When technology speaks for itself, that is art" - MT
Affiliate Compensated: there are some articles with links to products or services that I may receive a commission.
OTHER ARTICLES YOU MAY LIKE
USING BUTTERNUT.AI TO CREATE PROFESSIONAL WEBSITES
Having a professional and efficient website is crucial for any business looking to thrive online. With the constant advancements in technology, it can be overwhelming to keep up with the latest tools and platforms available for website creation. However, by leveraging the innovative capabilities of Butternut.ai, businesses can maximize their efficiency and create stunning websites […]
read more
EASY AND SIMPLE AI VIDEO EDITING SOFTWARE
Imagine your favourite movie scene transformed into a video in minutes, not hours. Thanks to advancements in technology, editing software has become increasingly user-friendly. Wondershare’s Filmora 14 stands as a prime example, boasting an array of AI features that simplify the editing process, with AI voice capabilities that could turn your voiceover dreams into a […]
read more